 Post frame structures do not require the same extensive site preparation as conventionally built buildings. It is a more efficient and cost-effective process that can save you money. Here is the overview of site preparation for post-frame buildings.
Plan Ahead for the Site
When choosing the site of your building, it is important to visualize possible future expansion ahead of time. Adding an addition to your post frame building in the future is relatively simple, so leaving space for an extension of a new wing is an important idea both for yourself and for future owners should you ever want to sell the property. Pay attention to the natural slope of the surrounding terrain to ensure water and ease of access do not become a problem later.
Know Your Local Codes
Before doing anything, make sure that what you are envisioning is going to fit within the county guidelines or other local code jurisdiction. Understand the zoning requirements, setbacks, permits, and other requirements to ensure a trouble-free process.
What permits and inspections will be required before and during the preparation and construction? This is critical information to have on hand.
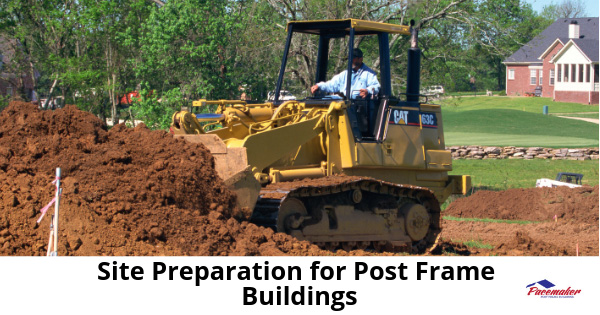
Site Preparation for your Post Frame Building
Step 1: Make It Level
Since grading the site to create a level surface is essential, it is important to cut out the organic material and provide a compactable fill material to build the ground up for construction and allow proper drainage now and in the future.
Step 2: Clear Away Everything
Your first objective is to clear the site beneath and around your future building by removing all sod and vegetation to about five feet beyond the edges of the future building. Save any topsoil you pick up in the process to use later.
Step 3: Grading Level
If the surface is highly variable and inconsistent, a professional grader should be able to do the job correctly. A 3”-5” slope will typically accommodate drainage at the perimeter, prevent water from entering, and still allow for easy access.
Step 4: Plan for Perimeter Drainage
Graded the site to level then slope downward from the perimeter of the future building. The building pad should be about 3”-4” above the surrounding grade. Additionally, slope downward at an angle of up to 5%. The sloping will ensure that rainwater does not accumulate around the base of the building. Thus safely channeling away from the building. Often it is necessary to run a perimeter tile to move water away from the building site and direct it towards the retention area on-site.
Step 5: Apply Granular Stone Material
If you are planning a concrete floor, lay about 4” of compacted granular material to facilitate subsoil drainage and support the concrete flooring. When ready, pour the concrete after the initial building framing is completed as this will allow you to use the exterior building skirt board as your concrete form. Generally, the finished floor height should be 3-6” above the surrounding ground level.
Contact Pacemaker Post Frame Buildings
Pacemaker Post Frame Buildings is a leading producer, designer, and builder of post frame structures. Great solutions for agriculture, businesses, schools, civic buildings, warehouses, and residential. With Pacemaker quality materials and planning, you may be assured of a top quality, durable, and economical building.
Located in Northern Indiana, the professionals at Pacemaker serve individuals and businesses throughout the Midwest and Great Lakes region.
Visit the Pacemaker website to view some of the remarkable Pacemaker projects.
If you have questions, phone the experts at Pacemaker Post Frame Buildings at 888.834.4448.